

I am not a very good baker and this is my fist experiment with baking. I was afraid about the outcome, but was pretty satisfied at the end, though I need to improve a lot :)
Ingredients:
For the Cake:
Flour : 50 gms
Cornflour : 50 gms
Baking Powder : 1 tsp
Eggs : 4
Sugar : 100 gms
Pineapple essence : 1 tsp
For the Icing:
Fresh Heavy Cream : 2 cups
Icing Sugar : 1 cup or acc. to taste
Pineapple essence: few drops
For the Filling:
Tinned Pineapple pieces, syrup retained
To Decorate:
Fresh or tinned Pineapple pieces and cherries
How I did it:
- Grease and line one 9"/12" baking tray.
- Pre heat oven at 200 degrees Centigrade.
- Separate eggs, and beat whites till soft peaks form.
- Add in sugar, and beat till white and glossy.
- Add in egg yolk one at a time, and beat well.
- Add the essence.
- Seive all the flours and baking powder.
- Fold in the seived flours, until just incorporated, using a clean rubber spatula, or a wooden spoon.
- Pour the batter into the tray and bake at 200 deg C for 15 to 20 mins till the toothpich inserted comes out clean.
- Take out the cake, and let it cool on a wire rack.
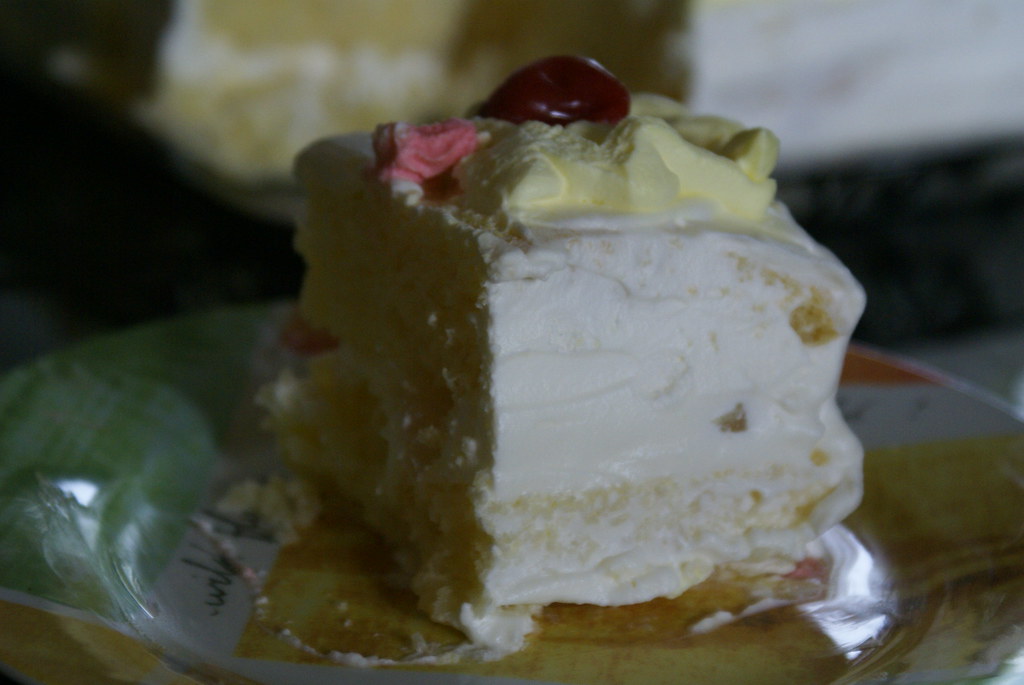
- Cut the cake into two equal halves vertically.
- Place each piece on a chopping board and spoon the pineapple syrup from the tins evenly over each piece and leave to soak in.
- Whip the cream, sugar and essence until thick. Spread one of the cake pieces with half of the cream then cover with half of the pineapple pieces, pressing them in lightly. Top with the second piece of sponge. Gently press the whole cake together with the palms of your hands.
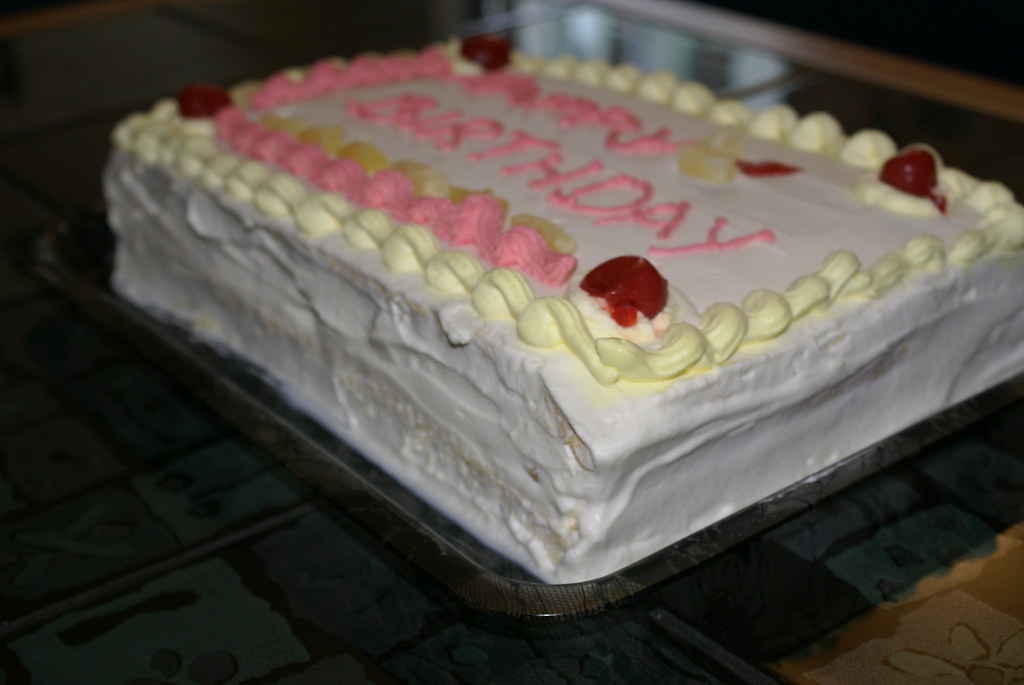
- Use a palette knife to thickly spread the top and sides of the cake with the remaining half of the icing, starting with the top first. This way, if the icing oozes down the sides of the cake, it won't matter.
- Leave the cake to set in a cool place then slice into large wedges and serve
And The Verdict :
J was very happy seeing the cake. He was all surprised and thrilled :)
He cut himself two large pieces, and relished to the last bit..... What more could I ask for, I forgot all tiredness seeing the smile on his face.
My hardwork was rewarded!!!
It was really delicious ... but I need to improve on my icing techniques :)
